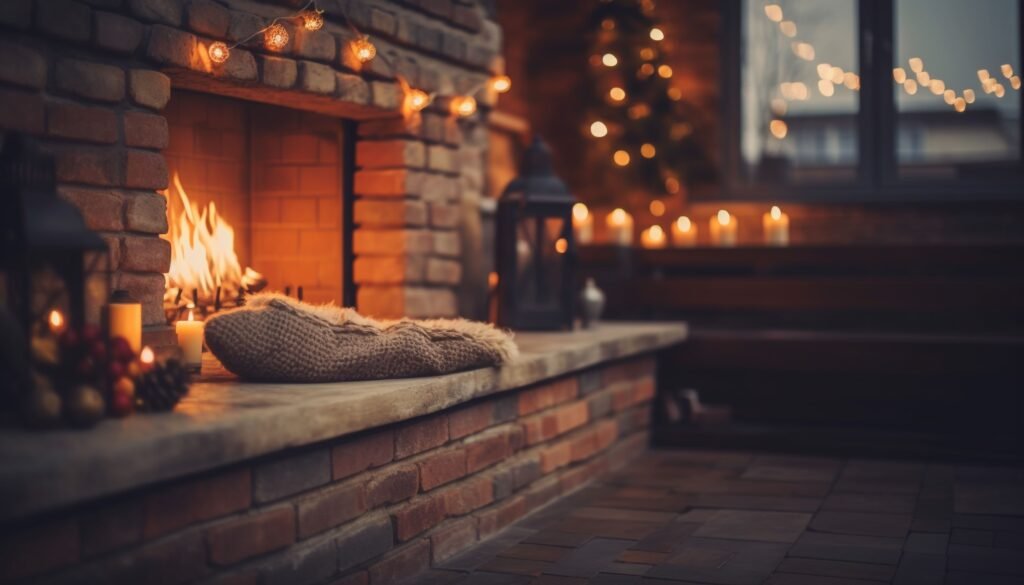
The fireplace has always been the heart of the home—a place for warmth, gatherings, and cherished memories. But sometimes, it’s the little details that make the biggest impact. A custom mantel can transform an ordinary fireplace into a stunning focal point, and the best part? You can create one yourself. With just a few tools, floating shelf ideas, and a bit of woodwork, you can craft a mantel that’s as unique as your home.
Let me take you through the journey of installing a custom mantel, step by step, in a way that’s personal, stylish, and easy to achieve.
1. Envision Your Mantel: The Story Begins
Every great design starts with a vision. Think about the role your mantel plays in your home. Is it a space for family photos, seasonal decor, or an anchor for your fireplace’s style?
Design Questions to Ask Yourself:
- Style: Do you want a rustic reclaimed wood look, a sleek modern floating shelf, or a classic painted mantel?
- Functionality: Will the mantel support heavy items, or is it purely decorative?
- Proportions: How wide and deep should the mantel be to complement your fireplace?
Vern’s Tip: “Your mantel should tell your story. Incorporate materials and styles that reflect your personality and home’s aesthetic.”

2. Choose Your Materials: The Heart of the Design
The materials you select will define the character of your custom mantel. Whether you’re building it from scratch or repurposing an old piece, choose materials that align with your vision.
Popular Mantel Materials:
- Solid Wood: Classic and versatile, perfect for both rustic and modern designs.
- Reclaimed Wood: Adds warmth and history with a weathered, natural look.
- Painted MDF or Pine: Affordable and easy to customize for a clean, polished style.
- Metal Accents: For industrial or minimalist mantels, consider metal brackets or details.
Pro Tip: If you’re going for a rustic look, embrace imperfections in the wood grain—they add charm and authenticity.
Explore mantel shelf options for inspiration.
3. Prepare Your Space: Setting the Stage
Before you install your mantel, take time to prepare your fireplace area. A little prep work ensures the finished product looks professional and polished.
Steps to Prep Your Fireplace:
- Measure the Space: Determine the width, depth, and height where your mantel will sit.
- Mark Your Placement: Use painter’s tape or a pencil to outline where the mantel will attach to the wall.
- Clean the Surface: Remove dust, soot, or debris from the fireplace area for a smooth installation.
Vern’s Tip: “Measuring twice is better than fixing mistakes later. Take your time to get it just right.”


4. Build or Customize Your Mantel
Now comes the fun part: crafting or customizing your mantel. Whether you’re assembling a pre-made DIY mantel kit, or creating one from scratch, this is where your creativity shines.
Steps to Create Your Custom Mantel:
- Cut Your Wood: If you’re starting from raw materials, cut the wood to your desired dimensions.
- Assemble the Mantel: Use wood glue and screws to secure pieces together. Sand rough edges for a smooth finish.
- Paint or Stain: Apply your chosen finish to enhance the wood’s natural beauty or match your room’s decor.
Pro Tip: Use a clear polyurethane topcoat to protect the mantel from scratches and heat.
For inspiration, check out heat-resistant paint and other fireplace-safe finishes.
5. Install Your Custom Mantel
Once your mantel is ready, it’s time to bring it to life on your fireplace. Installing a floating shelf mantel may seem daunting, but with the right tools and techniques, it’s a straightforward process.
Installation Steps:
- Find Wall Studs: Use a stud finder to locate sturdy anchor points.
- Install Mounting Brackets: Secure brackets or a cleat to the wall with heavy-duty screws.
- Attach the Mantel: Slide the mantel onto the brackets or cleat, ensuring it’s level. Tighten any fasteners for stability.
- Finishing Touches: Fill visible screw holes with wood filler or matching plugs.
Vern’s Tip: “A level mantel isn’t just functional—it’s essential for showcasing your decor beautifully.”
Don’t wait!
Contact us now to schedule your consultation and discover how we can transform your fireplace into the warm and inviting centerpiece of your home!
6. Style Your Mantel: The Grand Finale
Your custom mantel is installed, and now it’s time to make it shine. Styling your mantel brings personality and charm to the space, creating a true centerpiece for your room.
Styling Ideas:
- Layered Look: Combine a large mirror or artwork with smaller vases, candles, or books.
- Seasonal Decor: Update your mantel with garlands, wreaths, or themed accents throughout the year.
- Symmetry vs. Asymmetry: Balance both sides for a classic look, or experiment with asymmetrical arrangements for a modern twist.
Pro Tip: Use varying heights and textures in your decor to create visual interest. Check out LED ambiance lights for added flair.
Why Every Home Deserves a Custom Mantel
A custom mantel isn’t just a design feature—it’s a reflection of your style, a functional space, and a conversation starter. Whether you opt for a rustic DIY mantel, a sleek floating shelf, or a classic wood design, installing a custom mantel adds warmth and charm to any home.
Key Benefits:
- Personalizes your living space.
- Enhances your fireplace as a focal point.
- Adds value and style to your home.
Ready to create your custom mantel? Contact us today to explore materials, tools, and step-by-step installation tips to bring your vision to life.